
Planning for a shed demolition and cleanup is a multi-step process that requires careful consideration. Whether you’re tackling a dilapidated structure or simply clearing space for something new, ensuring that the demolition is done right can save time, money, and headaches. First, you’ll need to evaluate the condition of the shed. A well-maintained structure will likely be easier to dismantle than a run-down one, which may have hidden hazards like termites or water damage. Start by checking for any harmful materials such as asbestos or lead-based paint, as these need to be handled properly. If you’re unsure, it might be best to consult a professional before beginning. Once you’ve assessed the condition, create a plan for the demolition. Consider whether you’ll be salvaging any materials, like wood or metal, or if you’re planning to dispose of everything. Knowing your end goal will shape your strategy and ensure that the process is efficient and organized.
Assess the Shed Condition
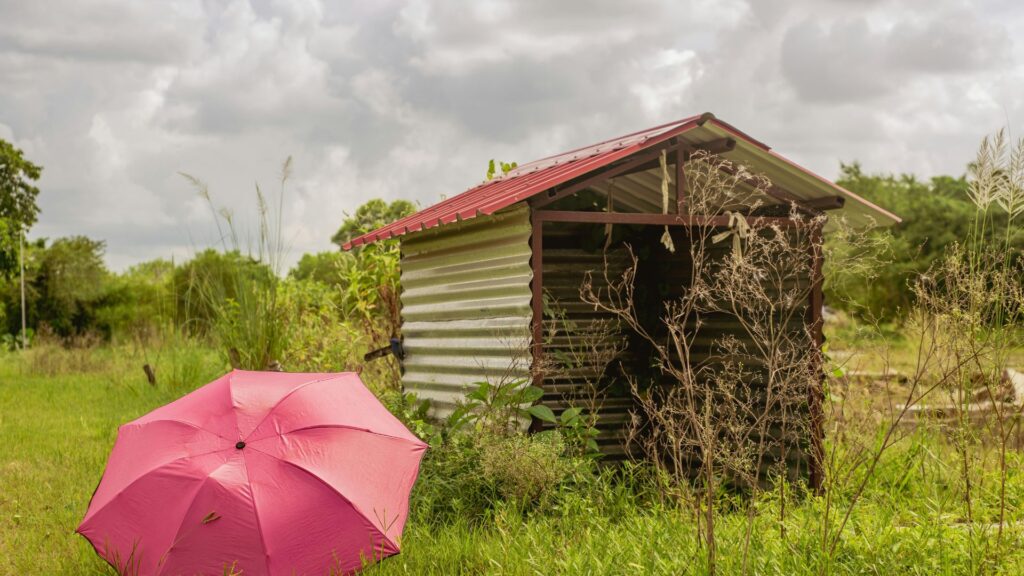
Before diving into the demolition process, it’s crucial to assess the condition of the shed. Start by checking the foundation, structure, and overall stability. If your shed is well-maintained, it may only require basic dismantling. However, if it’s been sitting unused for years, there could be hidden dangers. Look for signs of wood rot, rust, and even mold, as these can compromise safety during demolition. Also, inspect for hazardous materials like lead-based paint, old insulation, or asbestos, especially in older structures.
If any hazardous substances are found, it’s essential to follow local regulations for safe removal. Assessing the condition also includes considering whether parts of the shed—such as wood or metal—can be salvaged. If the shed is falling apart or beyond repair, the demolition will likely focus on removal rather than recycling. Create a checklist of potential risks and salvaging opportunities to guide your demolition process and ensure safety every step of the way.
Plan Your Demolition Process
Now that you have a better understanding of the shed’s condition, it’s time to plan the demolition. The more organized you are, the more efficient the process will be. Start by outlining the sequence of steps you will follow. In general, it’s best to start with the roof, as it is the most vulnerable part of the structure. Dismantling the roof first allows you to remove any heavy debris and makes it easier to move down to the walls and floor.
A step-by-step breakdown will help keep the demolition process orderly. Plan how to handle debris: some materials, like scrap metal, wood, and plastic, may be recyclable, while others, like treated wood, require special disposal. It’s also essential to factor in the disposal of the demolition waste. Depending on the size of the shed, you might need to rent a dumpster to handle the debris, or you can contact a junk removal service to handle the waste. Careful planning helps avoid unexpected issues and ensures everything is disposed of correctly.
Gather the Right Tools and Equipment
Before beginning your shed demolition, it’s essential to gather the right tools and equipment to ensure that the job is done efficiently and safely. The appropriate tools can make a huge difference in both the speed and quality of your work. At the very least, you will need basic demolition tools like a crowbar or pry bar for removing nails, a hammer for any additional prying, and a saw to cut through the structure’s wood. A reciprocating saw (also known as a Sawzall) will be crucial for cutting through thick beams and nails that might be difficult to tackle with a standard saw. For clearing debris, have a shovel or rake on hand to manage smaller pieces of debris as you go.
Safety is paramount during demolition, so personal protective equipment (PPE) is a must—wear gloves, goggles, and steel-toed boots to prevent injuries. If your shed is particularly tall or has higher parts that require a ladder, ensure you have a sturdy, reliable one. For sheds with hazardous materials or for heavy-duty demolition, additional tools or even professional-grade equipment may be necessary. If you don’t own the tools required, consider renting power tools or hiring an expert to help tackle more difficult sections of the shed.
Demolish the Shed Safely
Demolition is the most physically demanding part of the entire shed removal process, but it can be done with efficiency and safety if approached methodically. Begin by tackling the roof, as it is usually the weakest and most exposed part of the structure. Depending on the size of the shed, a crowbar or sledgehammer may be sufficient to break through the roof, but for larger, more intricate sheds, you might need a reciprocating saw or an electric chainsaw to cut through beams and structural joints. As you break down the roof, be sure to clear the work area of debris to avoid tripping hazards and ensure that you can move freely and safely.
After dismantling the roof, proceed with the walls, taking care to break them down in manageable sections to keep control of the debris. While working, always be mindful of nails, screws, and sharp edges that may cause injury. Be extra cautious if your shed contains hazardous materials like treated lumber or insulation with harmful chemicals—these may require special handling and disposal methods. If you’re working with bulky, heavy materials or are unsure about how to deal with potentially dangerous substances, consider calling in professional help to ensure the job is done correctly.
Clean Up the Site
Once the demolition is complete, cleaning up the site is the next important step. Begin by removing large pieces of debris, such as roof panels, broken wood, and metal parts. Having a dumpster on-site or arranging for a junk removal service will help you manage the waste more effectively. For smaller debris, such as nails, screws, and small wood scraps, use a rake or shovel to collect and dispose of it.
Be sure to check the entire area for any remaining hazards or debris that might have been overlooked. You’ll want to clear the area thoroughly, especially if you’re planning to build something new on the site. Once the space is clean, it will be ready for your next project, whether that’s a new shed, garden, or construction. Additionally, make sure the foundation is level, and there are no leftover materials that could cause problems during future work. If you’re not able to complete the cleanup on your own, consider hiring a junk removal service to help.
Disposal and Recycling
The proper disposal of the materials from your shed demolition is crucial for both environmental and safety reasons. Not all materials can go into a standard trash bin, so it’s important to sort everything before disposing of it. For recyclable materials such as scrap metal, wood, and certain plastics, locate a recycling center near you. Many scrap metal yards will accept materials like steel, aluminum, and copper, while wood can often be repurposed for other projects. Be sure to look for eco-friendly disposal options for materials that cannot be recycled, such as treated wood or materials containing harmful chemicals.
Some local waste management companies provide special bins for hazardous materials, so it’s important to research these options to ensure proper handling. If you don’t have the time or resources to manage the disposal yourself, you can hire a professional junk removal service that specializes in eco-friendly waste disposal. They can sort, haul away, and dispose of everything responsibly, allowing you to focus on your next steps.
Consider Professional Help
While DIY demolition can be satisfying, it’s not for everyone. If the process seems overwhelming or too dangerous, it may be worth considering professional help. Professional demolition and junk removal services can handle every aspect of the project, from safely dismantling the shed to disposing of the debris. They come equipped with the right tools and expertise to do the job quickly and efficiently.
Additionally, professionals are trained to handle hazardous materials and ensure compliance with local laws and regulations regarding waste disposal. Hiring a professional service can also save you time and effort, allowing you to focus on other aspects of your project. If you’re not comfortable with power tools or large-scale demolition, a professional team can give you peace of mind that the job will be done correctly and safely. Hiring experts ensures that the shed demolition is done efficiently, leaving you with a clean and safe space ready for the next phase of your property’s transformation.
Conclusion
Planning for a shed demolition and cleanup doesn’t have to be overwhelming. By carefully assessing the shed’s condition, outlining a clear demolition plan, gathering the necessary tools, and making sure that all materials are disposed of responsibly, you can successfully tackle the project with ease. It’s important to keep in mind the potential hazards that could arise, especially if you’re dealing with harmful substances like asbestos or lead paint. If you’re unsure about how to handle these materials or if the project feels like too much to manage on your own, hiring a professional junk removal service can help streamline the process and ensure everything is done safely.
For those in the Los Angeles area, Dirty Deeds Junk Removal is ready to assist with shed demolition and cleanup. Their team of experts is equipped to handle every aspect of the demolition, from safely taking down the structure to hauling away the debris and ensuring proper disposal. For a hassle-free and efficient shed demolition, call them today at (213) 601-2778. Let them take care of the hard work while you enjoy your newly cleared space.